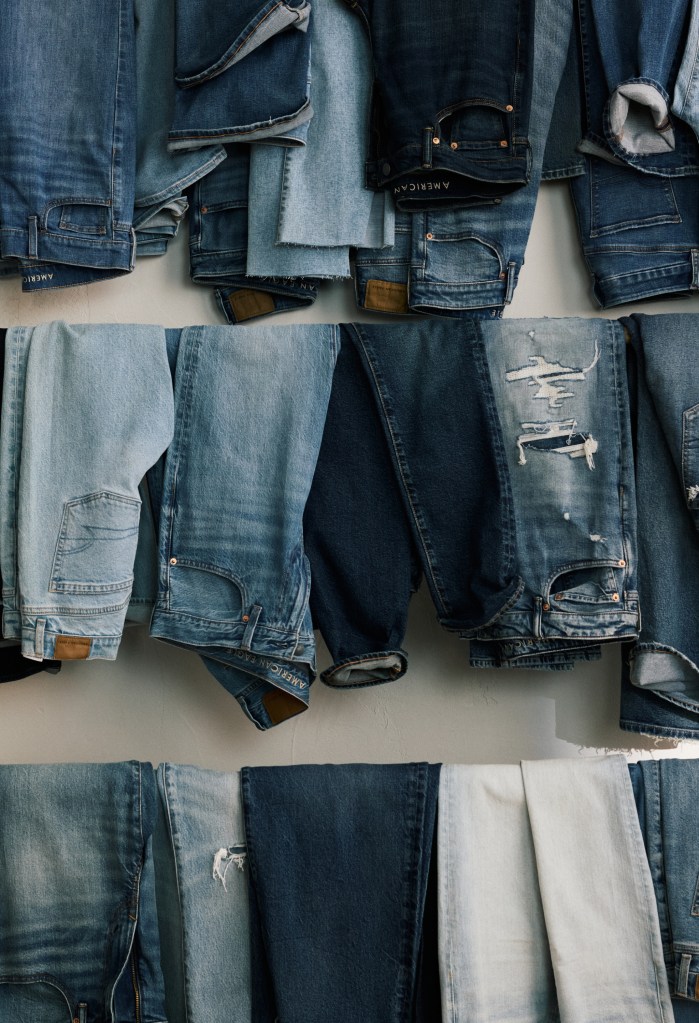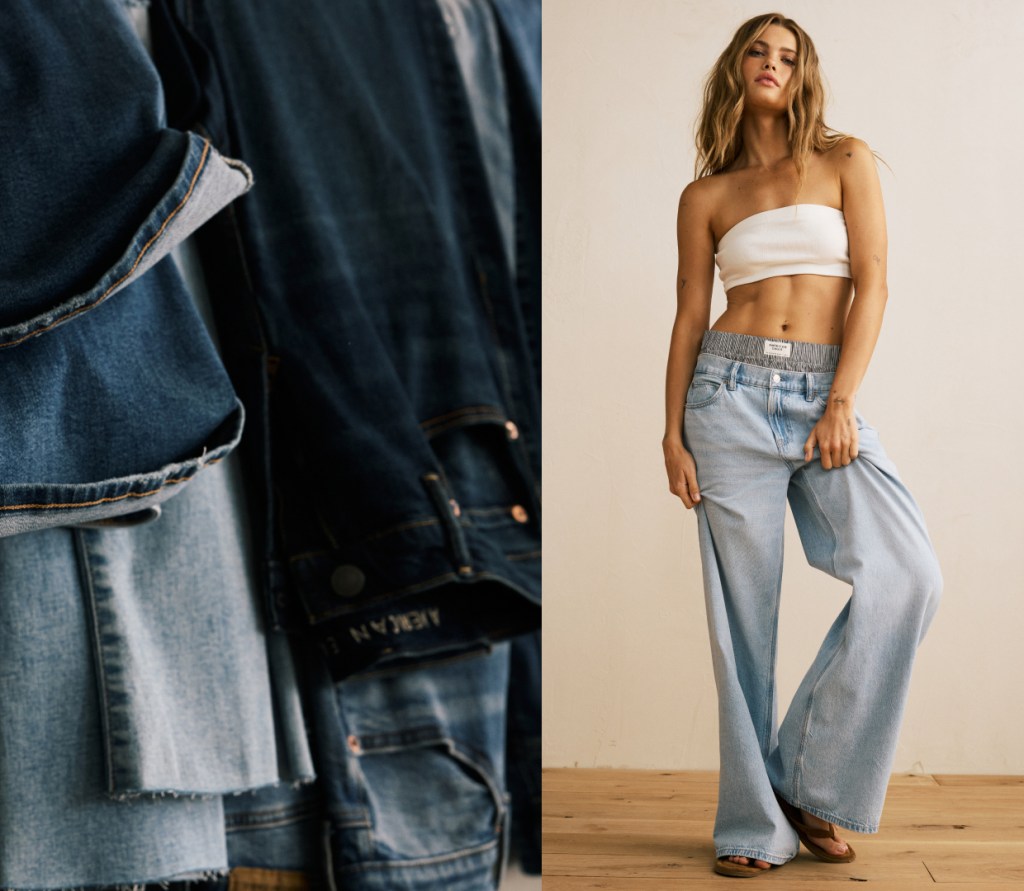
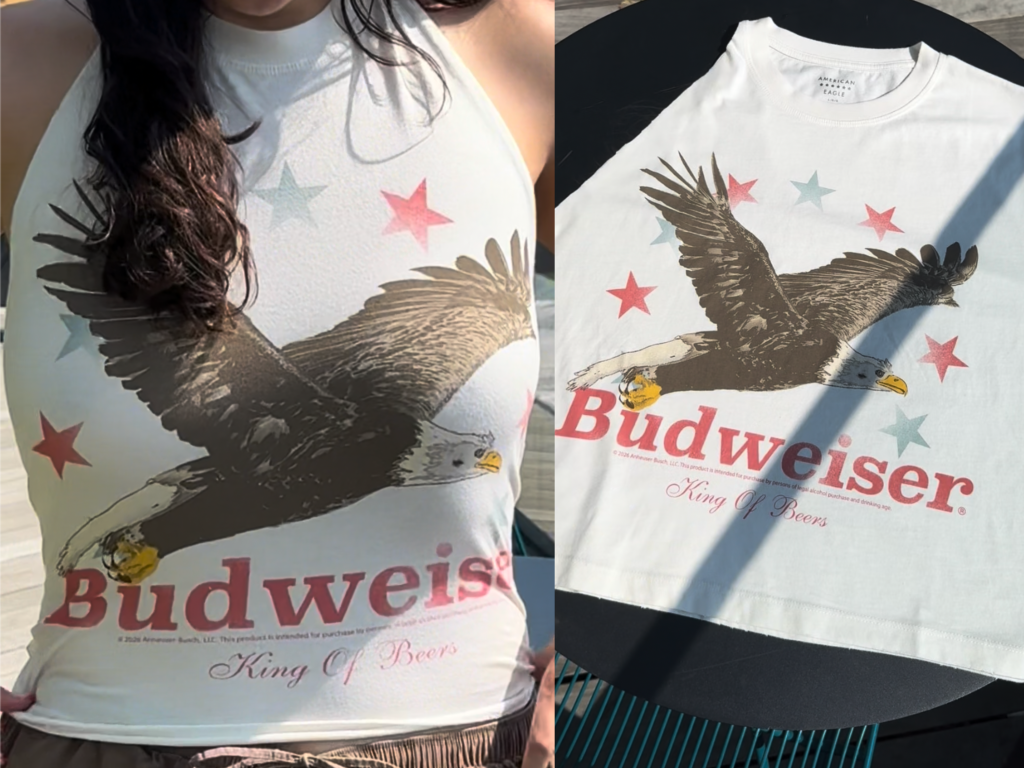
Turn your well-loved t-shirts into something new with this DIY halter top tutorial! Create a custom, upcycled top in under 10 minutes with things you already have around the house – no sewing machine required.
Supplies You’ll Need
- Your fave graphic tee or t-shirt (preferably in a cotton blend for easier cutting)
- Fabric scissors for cutting clean edges
- Flat work surface
Step-By-Step Tutorial:
Step 1: Pick & Prep Your Shirt
Go for graphics or plain t-shirts, both work! We recommend choosing a slightly baggy shirt so you have more customization options when cutting. Lay the shirt on a flat work surface and smooth out any wrinkles.
Step 2: Cut Off Sleeves Up To Collar
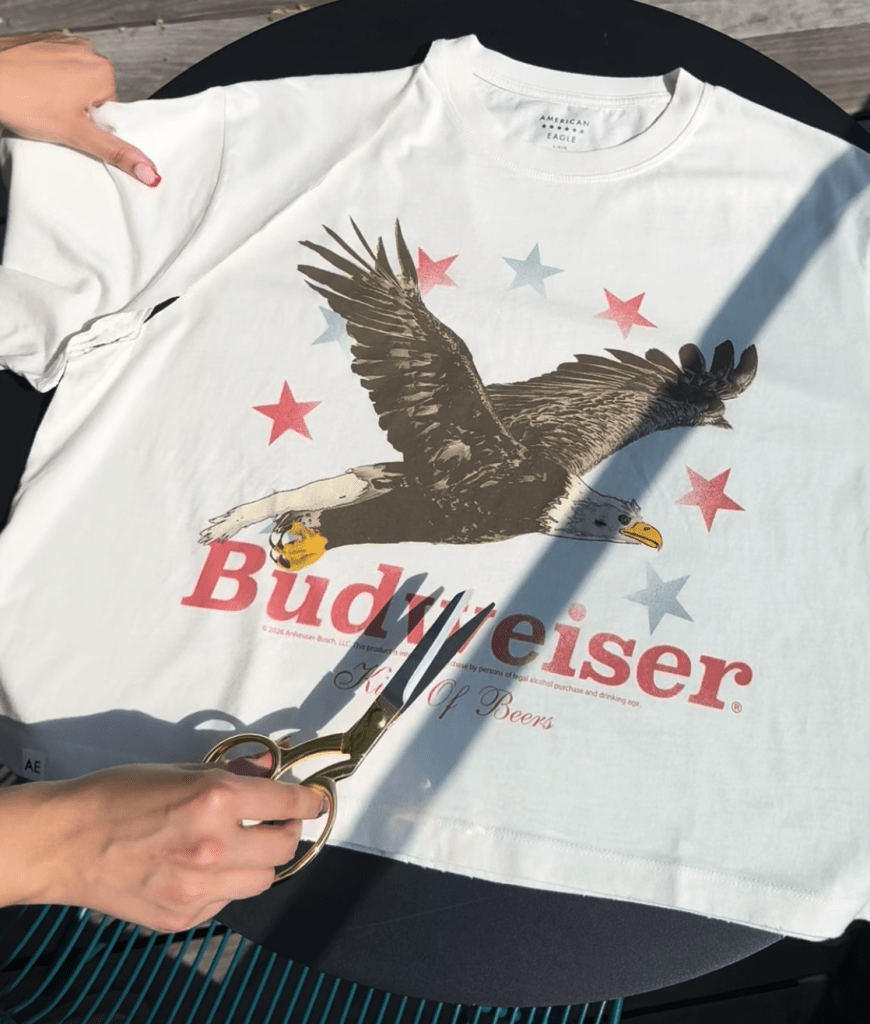
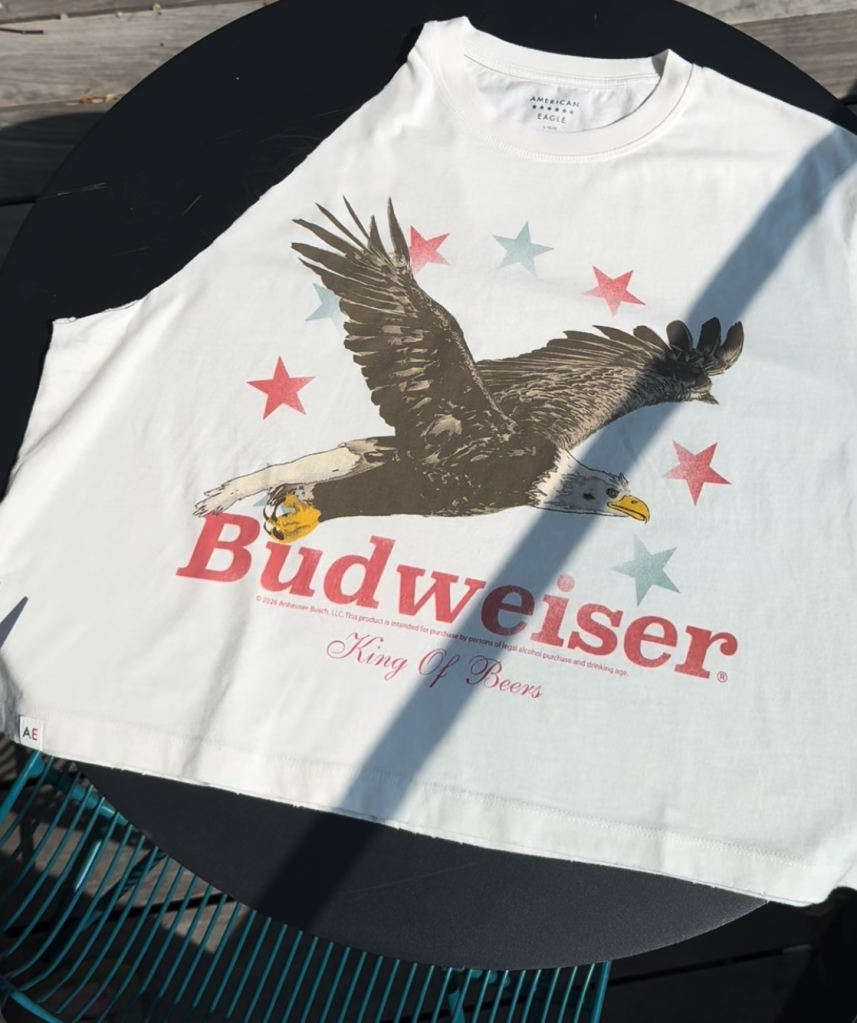
Slice off both sleeves, cutting along the shoulder seams up to the neckline collar.
Step 3: Cut Down the Back
Flip the t-shirt over to the back side and cut a straight line right down the vertical center of the back.
Step 4: Cut Out Back Collar
Trim out the back portion of the neck collar, leaving the remaining collar pieces attached at the front to become your halter top neck straps!
Step 5: Trim From Center to Armpits
On the back panel, cut diagonally from bottom center slit up toward each armpit to remove the excess fabric and create the lower tie straps.
Step 6: Test The Fit & Adjust as Needed
Try the top on to check for coverage and neckline fit. Trim small amounts of fabric at a time until you get the fit you’re looking for.
Step 7: Tie & Style
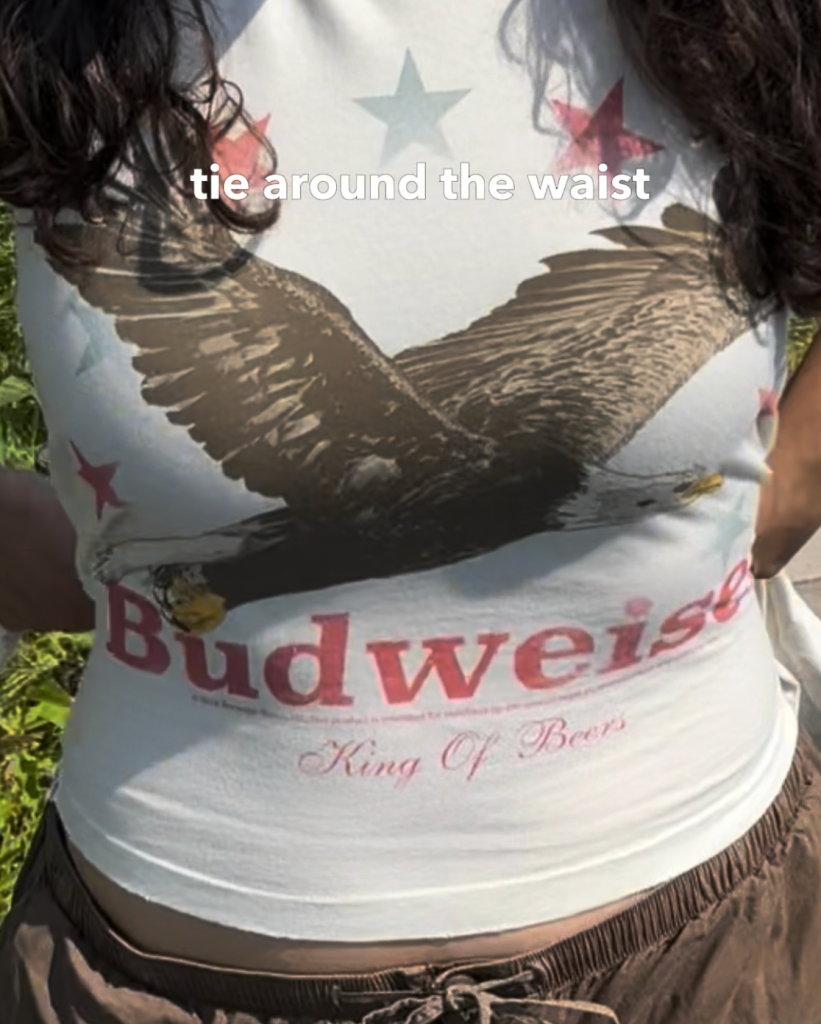
Cross the newly cut back strips behind you to tie around your waist, then secure the top straps behind your neck with a secure but not-too-tight bow.
Step 8: Enjoy Your DIY Halter Top!
Wear your new custom halter top with everything from Y2K-inspired low-rise pants, jorts, or baggy jeans to create an easy look you’ll love.
Customization Ideas:
- Add Fringe: Cut vertical slits on the bottom hem for a festival-inspired look
- Make It Extra Cropped: Trim the hem shorter before cutting your back ties
- Upcycle Scraps: Save your sleeve and back fabric extras to create accessories like headbands or scrunchies
Show us your go-to DIY t-shirts by tagging @americaneagle #AEJeans for a chance to be featured on our Instagram, ae.com, and more!